Share this
by Myzone on Tuesday, 29 March 2016
As a MYZONE user, you probably purchased your heart rate monitor for the same reasons we did–to increase our motivation, to track our progress over time, and to amp up our training programs. With the real-time feedback that the MYZONE system provides, we get to see how hard we’re working–and if we could be working harder.
But do we always need to be working harder? And when it comes to the MYZONE system, do we always need to be pushing ourselves up into the yellow and red zones?
The short answer is, no. This is where the blue and green zones come into play.
This post will explain the purposes and benefits of working in the blue and green zones, and discuss why these zones are important for everyone, no matter how fit they are!
Here is a breakdown of the purposes and benefits of the blue and green zones:
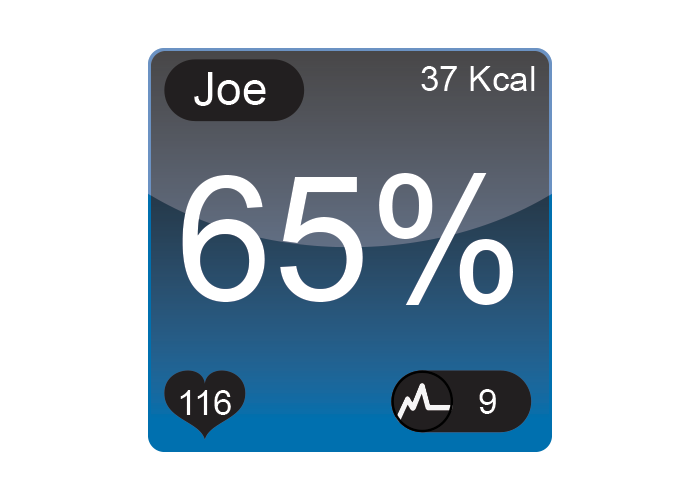
The Blue Zone: 60-69% MHR (2 MEPs per minute)
Purpose: Moderate intensity zone, warm-up, build aerobic base (beginners), recovery workout, long duration workout
Benefit: Build vascularity (capillary beds supplying blood, oxygen, and nutrients to working muscles), increase mitochondrial density (fuel production capability), improve ability to use fat as a fuel source
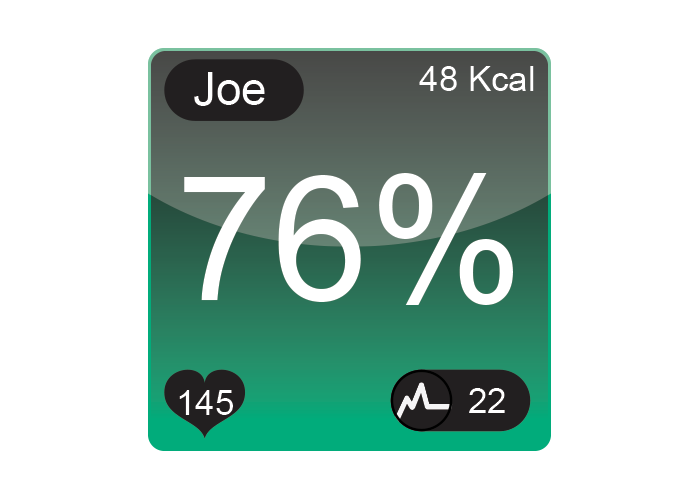
The Green Zone: 70-79% MHR (3 MEPs per minute)
Purpose: Moderate (70-74%) to high (75-79%) intensity zone, steady state aerobic training, recovery zone for tempo/pace training and high intensity interval training
Benefits: Build aerobic base, work closer to aerobic capacity (maximal ability to efficiently take in and process oxygen), efficient recovery
As you can see, the blue and green zones have many physiological benefits that should not be overshadowed by the MEPs-collecting, calorie-scorching yellow and red zones! Let’s examine these a little more closely with some Q&A:

Q: I’m just beginning my exercise program and I have a lot of goals. Why don’t I just push myself to get into the yellow and red?
A: There is definitely a time and place for yellow and red, and you might find that you reach these zones with little effort when you’re first starting out. However, it’s very important to use the blue and green zones to build an aerobic base, which allows our bodies to take in and utilize oxygen efficiently through aerobic metabolism. When we train in the blue and green zones over a prolonged period of time, our bodies adapt by increasing the size and number of the powerhouses of our cells–our mitochondria (this adaptation is known as increased mitochondrial density). We also see an increase in our vascularity as more blood vessels form to bring oxygen to and remove waste from our cells.
We want to make sure we have a solid aerobic base before trying to push ourselves to anaerobic training (higher intensity training in which our bodies’ demand for oxygen exceeds its supply). To learn more about building an aerobic base, check out this post on steady state training.

Q: I’ve been told that if I want to lose weight, I should only exercise in the blue and green zones to burn fat. Is this true?
A: Not quite. While fat is metabolized in a greater proportion during lower intensity activity as compared to higher intensity activity, this does not necessarily equate to weight loss and fat loss. In fact, we’re burning our highest proportion of calories from fat when we are at complete rest, but that doesn’t sound like the recipe for success, does it?!
Weight loss, maintenance and gain come down to energy balance–the amount of calories consumed versus the amount of calories expended. A negative energy balance means that we’ve burned more calories than we’ve taken in; this is where we see weight loss.
When we exercise at higher intensities, we burn more calories overall during the workout (setting us up for negative energy balance). Although a large proportion of these calories will come from carbohydrates, we’ll still burn a good amount of calories from fat – sometimes more than if we were working at lower intensities and burning fewer total calories! As such, if your goal is weight loss, we encourage you to use the blue, green, yellow, and even red zones as part of your training program.

Q: How can I use the blue & green zones to prevent overtraining?
A: The blue and green zones are great for both stand-alone recovery workouts and recovery intervals during high intensity interval training (HIIT).
While it can be tempting to push ourselves into the yellow and red zones during all of our workouts (especially when we’re in a MYZONE Challenge), it is vital that we take it easy on some workouts to prevent overtraining. Overtraining is a condition of chronic fatigue in which our exercise performance declines and we are more prone to illness. A nice rule of thumb is that if you do a high intensity workout, make your next workout a “recovery” workout in which you stay mostly in blue and the very early portion of green. We encourage you to experiment with this and find the rhythm that works best for you!
We can also aim to recover back down to the blue or green zone during the recovery intervals of a HIIT session. Achieving the blue or green zone on a recovery interval can indicate that our hearts are becoming more efficient as we continue our training program. You can find out more about heart rate recovery in this post .
We hope this answered some of your biggest questions about the blue and green zones. Every zone has its value, and we hope that you embrace blue and green!
The MYZONE workout heart rate monitor can make a big difference in meeting your fitness goals. Let us know how your workouts are going! As you post your progress on Twitter, Facebook, and Instagram, use the hashtags: #myzone, #myzonemoves, and #effortrewarded. Keep moving forward!